Home Music Recording Simplified
Recording music at home is more accessible than ever, thanks to the advancements in affordable technology and user-friendly software. Whether you’re a rapper, producer, or both, home recording is a valuable skill that lets you bring your creative ideas to life at your convenience. This post will guide you through the five essential steps needed to start recording from the comfort of your home, particularly aimed at new artists and producers who are active on social media.
Step 1: Setting Up Your Home Studio
Before you start recording, you’ll need to a basic home recording studio setup. The equipment you choose doesn’t have to be expensive, but it should cover the basics. Here’s what you need:
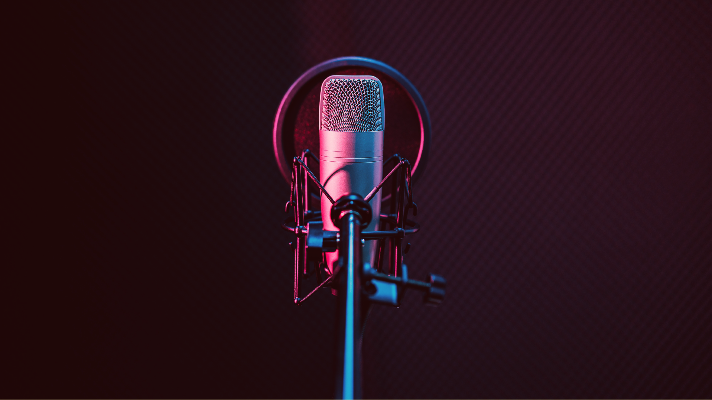
- Microphone: A good-quality microphone will help capture vocals or instruments clearly. Condenser microphones are typically preferred for studio vocals due to their sensitivity and clarity.
- Audio Interface: This device connects your microphone and other instruments to your computer, allowing for high-quality sound input. Look for an interface with at least two inputs and phantom power, which is necessary for condenser mics.
- Headphones: Closed-back headphones are ideal for recording as they prevent sound leakage into the microphone.
- Pop Filter: This inexpensive addition helps reduce plosive sounds (like “P” and “B” sounds) that can distort vocal recordings.
- Studio Monitors (Optional): While headphones work fine, studio monitors provide a more accurate representation of your track, especially useful during mixing.
Now that you have your gear, it’s crucial to find the right spot to set up your basic home studio setup for recording. Ideally, this should be a quiet room with minimal background noise. Rooms with carpets and furniture tend to naturally absorb sound, which is beneficial. If possible, avoid spaces with hard surfaces that reflect sound, as this can create unwanted echoes.
Acoustic treatment, such as foam panels or diffusers, is a nice addition, but if you’re just starting, don’t feel pressured to invest in professional treatment right away. Even something as simple as hanging blankets or using a closet full of clothes can help reduce reverb and outside noise.
Step 2: Choosing Your Recording Software (DAW)
Your digital audio workstation (DAW) will be the software where you record, edit, and produce your music. There are many options available, ranging from beginner-friendly to advanced. Here’s a breakdown:
- Free Options (e.g., Audacity): Ideal for those who are just starting out, Audacity is simple to use and perfect for basic vocal or instrument recording. While it lacks many advanced features, it’s a great way to learn the fundamentals of recording.
- Intermediate DAWs (e.g., GarageBand, FL Studio): For those looking for a bit more control over their production, these DAWs offer user-friendly interfaces and plenty of built-in sounds and effects. GarageBand (for Mac users) is excellent for beginners and even some professionals.
- Professional DAWs (e.g., Reason Studios, Ableton Live, Pro Tools): If you’re aiming for studio-quality production, investing in a professional DAW is worth considering. Reason Studios, for example, offers an expansive range of features, such as advanced synthesis, effects, and virtual instruments.
When selecting your DAW, make sure it is compatible with your computer’s processing power. Some DAWs require more memory and CPU than others, so be mindful of the system requirements.

Step 3: Recording Your Tracks
Once your equipment is set up and your DAW is installed, it’s time to record! Depending on your music style, this could involve:
- Vocal Recording: For rappers, ensuring a clean vocal recording is key. Make sure to use a pop filter and position yourself about 6-12 inches away from the microphone to avoid distortion.
- Instrument Recording: If you’re a producer, recording instruments or sampling is likely part of your workflow. Make sure each sound source is properly isolated to avoid interference with your microphone.
- MIDI Programming: For those who rely on virtual instruments, learning to program MIDI is an essential skill. You can either input notes manually or connect a MIDI keyboard for more intuitive control over your sound.
When recording, aim to capture multiple takes for each part. You’ll appreciate having different versions to choose from when editing and mixing. Don’t rush the process—take your time and experiment with various sounds until you get the right feel for your track.
Step 4: Mixing and Mastering Your Tracks
After recording comes the critical phase of mixing and mastering. Here’s what each process involves:
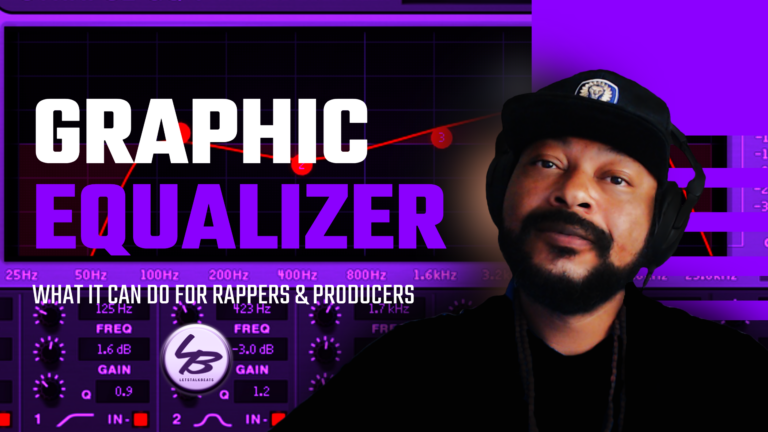
- Mixing: This step balances your individual tracks by adjusting their volume levels, panning (placing sounds in the stereo field), and using effects like equalization (EQ) to carve out frequencies. Compression is another important tool that helps balance the dynamics of your sound, while reverb adds a sense of space.
- Mastering: Mastering is the final stage of audio production, where you optimize the track for distribution by ensuring consistent volume levels and clarity across all listening platforms. Mastering often involves compression, limiting, and EQ on a stereo file.
Learning mixing and mastering on your own can take time, but there are many tutorials available online. However, if you want a professional-quality track, you might want to collaborate with an experienced audio engineer. Either way, quality mixing and mastering can elevate your music and make it stand out.
Step 5: Planning to Release Your Music
Once your tracks are polished, the next step is to share them with the world. Digital distribution platforms like Apple Music, Spotify, and Bandcamp allow independent artists to reach a global audience. Additionally, if you want a physical touchpoint with your fans, consider creating CDs or even vinyl records. These can be sold at live shows or through your website.
Promotion is equally as important as the music itself. Use social media platforms like Instagram, TikTok, and YouTube to market your music. Share behind-the-scenes footage, engage with fans, and participate in trends to grow your audience. Creating a release strategy will help your music gain visibility, whether through press outreach, playlist placements, or targeted social media campaigns.
Final Thoughts
Recording music at home allows you to be in control of your creative process. With the right equipment, software, and mindset, you can build a sustainable music career from your bedroom. Take your time learning the ins and outs of recording, mixing, and mastering. Most importantly, stay consistent and share your music with the world—your audience is waiting.
Remember, building a solid online presence is key to finding and nurturing a dedicated audience. Recording from home is just the beginning of your journey as an artist or producer.
Justin David
Creative man • Philosopher • Artist • Producer